Article: How to Pull Up a Solid Timber Floor
How to Pull Up a Solid Timber Floor
Every new renovated floor starts with the old one coming up. It is loud, physical work, and it is easy to treat as demolition rather than preparation. Done carelessly, it leaves a damaged subfloor, hidden moisture and adhesive ridges that telegraph through the new boards for years. Done well, it is the first step of a good installation.
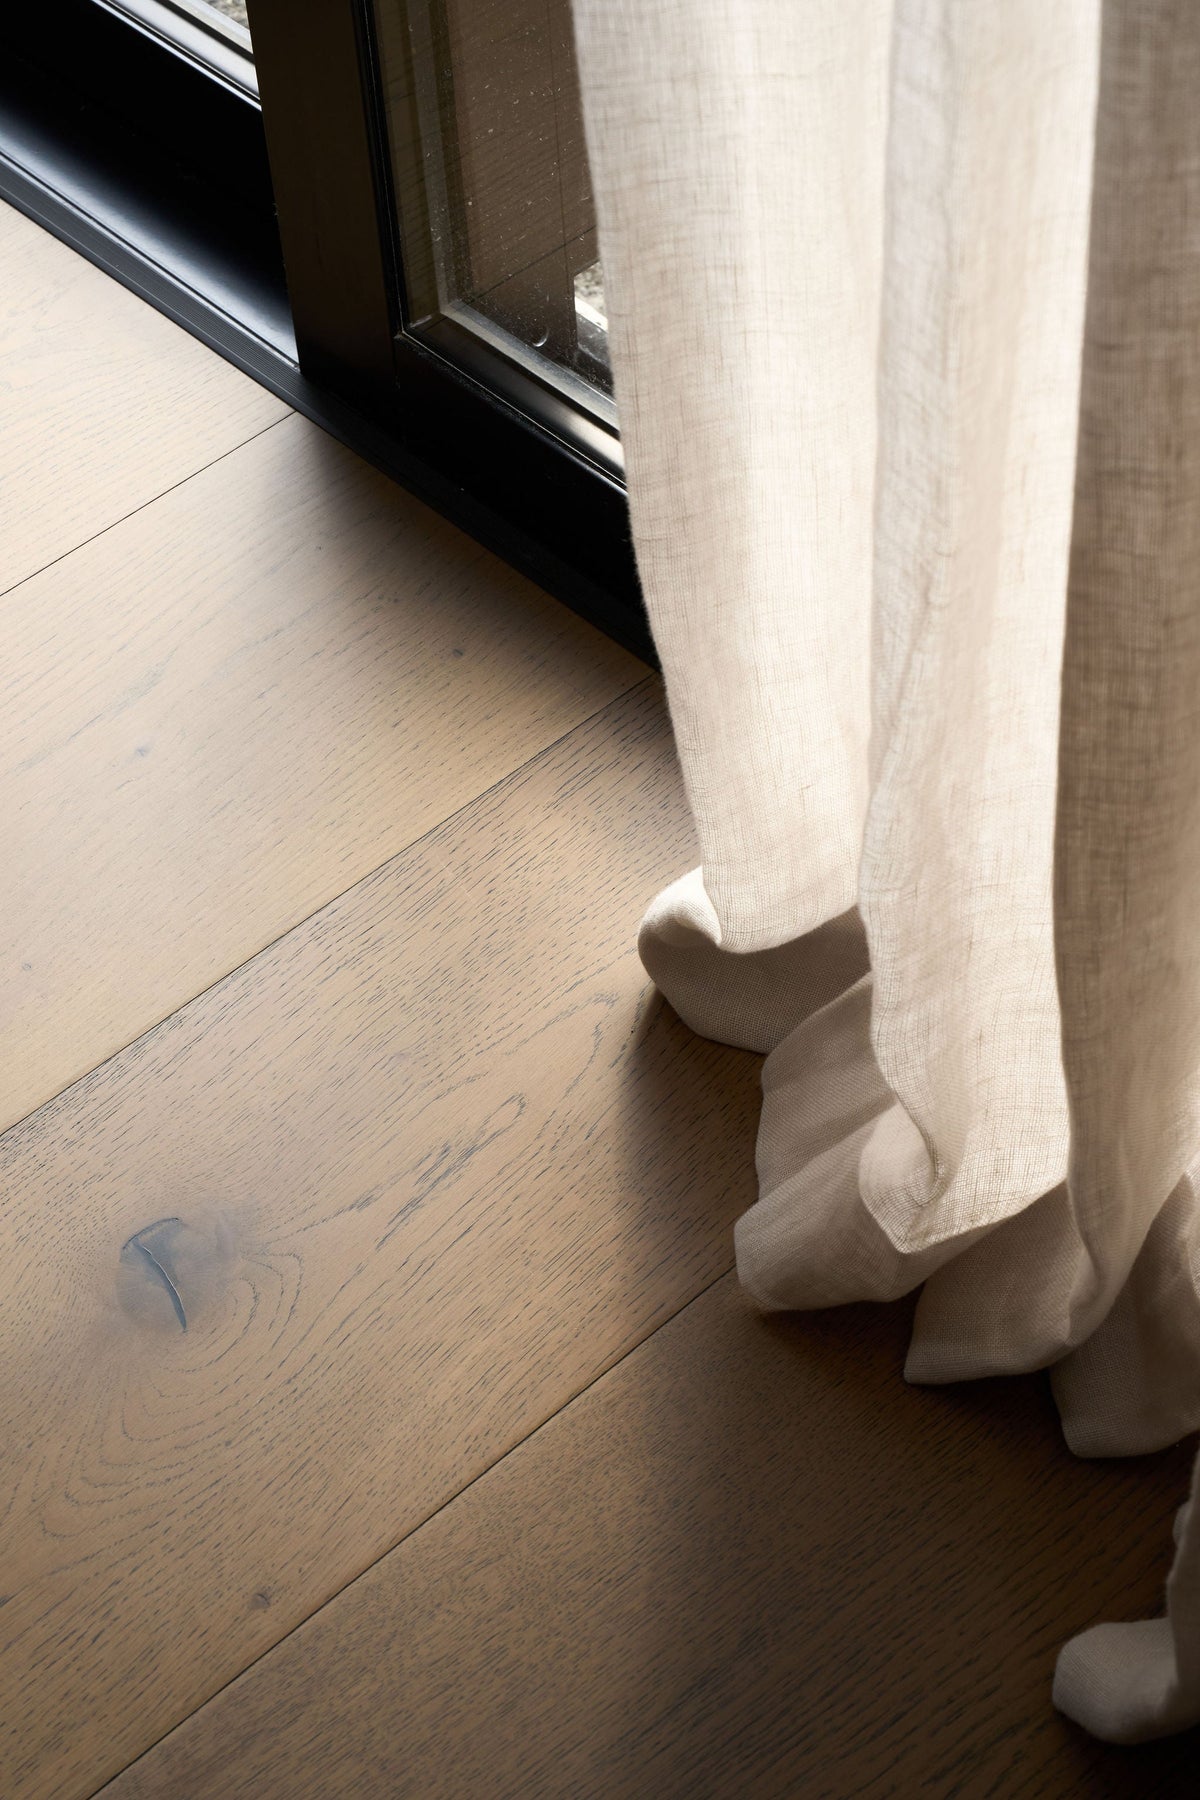
The photographs in this guide are from a recent renovation where a glued-down solid hardwood floor was lifted ahead of a new engineered oak floor.
How do you know how your solid floor is fixed?
Before you lift a board, find out how the floor is held down, because that decides the tools, the time and the condition of the subfloor underneath.
Most solid timber floors in New Zealand homes are fixed one of two ways.
- Secret nailed over joists or battens. Common in older villas, bungalows and timber-framed homes. Boards are tongue and groove, nailed through the tongue. Look for a suspended floor with a crawl space below.
- Glued direct to a slab or plywood. Common in homes from the 1990s onward, and in parquet or strip block floors like the one pictured. Boards are bonded with a trowelled adhesive, sometimes with nails as well.
Lift a heat vent cover, or remove a short length of skirting or a threshold strip, and look at the edge of a board. Nail heads in the tongue mean a nailed floor. A ridged layer of adhesive underneath means a glued one.
What should you check before you start?
Three checks protect your health, your house and your budget, and they should happen before any tools come out.
- Asbestos. If the house was built or renovated before 2000, older adhesives, underlays and any vinyl beneath the timber may contain asbestos. Have a sample tested before you disturb it. If it is present, removal must be carried out by a licensed asbestos removalist.
- Services under the floor. Cabling, pipework and underfloor heating can sit directly beneath or within the floor build-up. Confirm where they run, isolate power to affected circuits, and work carefully near walls and service penetrations.
-
The heights you are working to. Note the finished floor height at every door, sill, stair and tiled junction before the old floor comes up. The new floor needs to meet those same lines, and it is far easier to measure against the old floor than to reconstruct it from a bare subfloor.

What tools do you need?
The right tools turn a week of prying into a day or two of steady work. Most can be hired.
- Hearing protection, safety glasses, gloves, steel-capped boots and a P2 dust mask as a minimum
- A pinch bar and flat pry bar for nailed floors and edges
- A circular saw or track saw, depth set to the board thickness, for cutting relief lines
- A walk-behind floor stripper for large glued areas (the green machine in the photographs)
- A demolition hammer with a wide scraper or chisel blade for edges, corners and stubborn sections
- A long-handled flat spade for clearing and lifting loose sections
- A floor grinder with dust extraction for adhesive residue on concrete
How do you lift a nailed solid floor?
Work across the boards, not along them, and let the saw do the hard part.
- Clear the room and remove skirtings. Score the paint line first so the skirting comes away cleanly if it is going back on.
- Cut relief lines. Set the saw to the board thickness and cut across the boards every 400 to 600mm. Keep the blade off the joists and away from any services.
- Start at a wall. Lever the first board up from its groove side with a pinch bar. Each short section then lifts away from the next.
- Pull every nail. Remove or punch flush every nail left in the joists. A single proud nail head will lift or squeak through a new floor.
-
Inspect the framing. With the boards up, check joists for borer, rot, moisture and any that have dropped out of level. This is the cheapest moment to fix them.

How do you lift a glued-down solid floor?
A glued floor is removed in sections, by machine, and the adhesive left behind matters as much as the timber you take up.
- Open a starting edge. Use the demolition hammer and a wide blade to break out a strip along one wall, as in the photographs, giving the stripper an edge to work into.
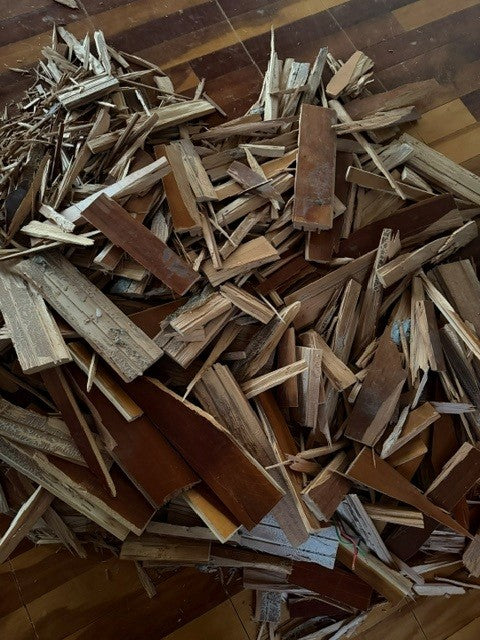
- Run the floor stripper. Feed the blade under the boards at a shallow angle and work in steady passes across the room. Expect the timber to split and shatter rather than lift whole. On a well-bonded floor it will come up in pieces, as the debris pile shows.
- Clear as you go. Shovel the debris away regularly so the machine has a clean run and you can see what the blade is doing to the subfloor.
- Finish the edges by hand. Use the demolition hammer along walls, around door frames and in corners where the stripper cannot reach.
- Deal with the residue. The ridged adhesive left behind must come off. On concrete, grind it back with dust extraction. On plywood, scrape and sand, and replace any sheets the stripper has torn or delaminated.
What condition should the subfloor be in afterwards?
The subfloor needs to be clean, sound, dry and flat before anything new goes down, and this is where most flooring failures begin.
- Clean. No adhesive ridges, old fixings, paint or dust. New adhesive needs a sound surface to bond to.
- Sound. Plywood firmly fixed with no soft spots, delamination or movement. Concrete free of cracks and loose patches.
- Dry. Concrete slabs should be moisture tested before installation, particularly where an old floor has been sealing the surface for years. Moisture trapped under a timber floor is one of the most common reasons it cups or lifts.
- Flat. Check with a long straightedge. Hollows and high spots left by stripping and grinding need to be ground or levelled to the tolerance set out in the installation guide for the new floor.
An old floor that has been down for decades often leaves hollows, patched slab and areas of damaged ply. Allow time and budget for subfloor preparation. It is rarely the line on the quote that people expect, and always the one that makes the difference.
What do you do with the old timber?
Solid timber that comes up clean and whole can sometimes be reused or sold for repairs, though glued floors rarely survive removal in usable lengths.
Broken boards carrying adhesive, lacquer or old finishes should not be burned in a home fire or used as firewood. Take them to your local transfer station or use a skip, and ask your council about timber recovery options in your area.
Should you do it yourself or hire a professional?
A small nailed floor is a reasonable project for a capable homeowner. A large glued floor, a slab that needs grinding, or any suspicion of asbestos is work for a professional.
The cost of removal is modest against the cost of a new floor laid on a poorly prepared base. If your installer is laying the new floor, it is often worth having them lift the old one too, so the same person who signs off the subfloor is the one who prepared it.
What comes next
Once the subfloor is ready, the new floor can be laid to the heights you recorded at the start. A 20mm engineered board sits at the same height as most solid floors it replaces, which keeps door undercuts, sills and stair rises as they were. The detail is in why 20mm flooring is the cheaper choice at every door and window, and the broader picture in oak flooring in New Zealand: what you are actually buying.
If you are partway through a renovation, send us your plans and we will return a take-off for the new floor. Book a consultation or order a sample board to see it against the room.
This guide is general information only. Asbestos testing and removal, electrical isolation and structural repairs should be carried out by appropriately qualified and licensed people. Always follow the installation guide supplied with your new floor. Last reviewed October 2026.