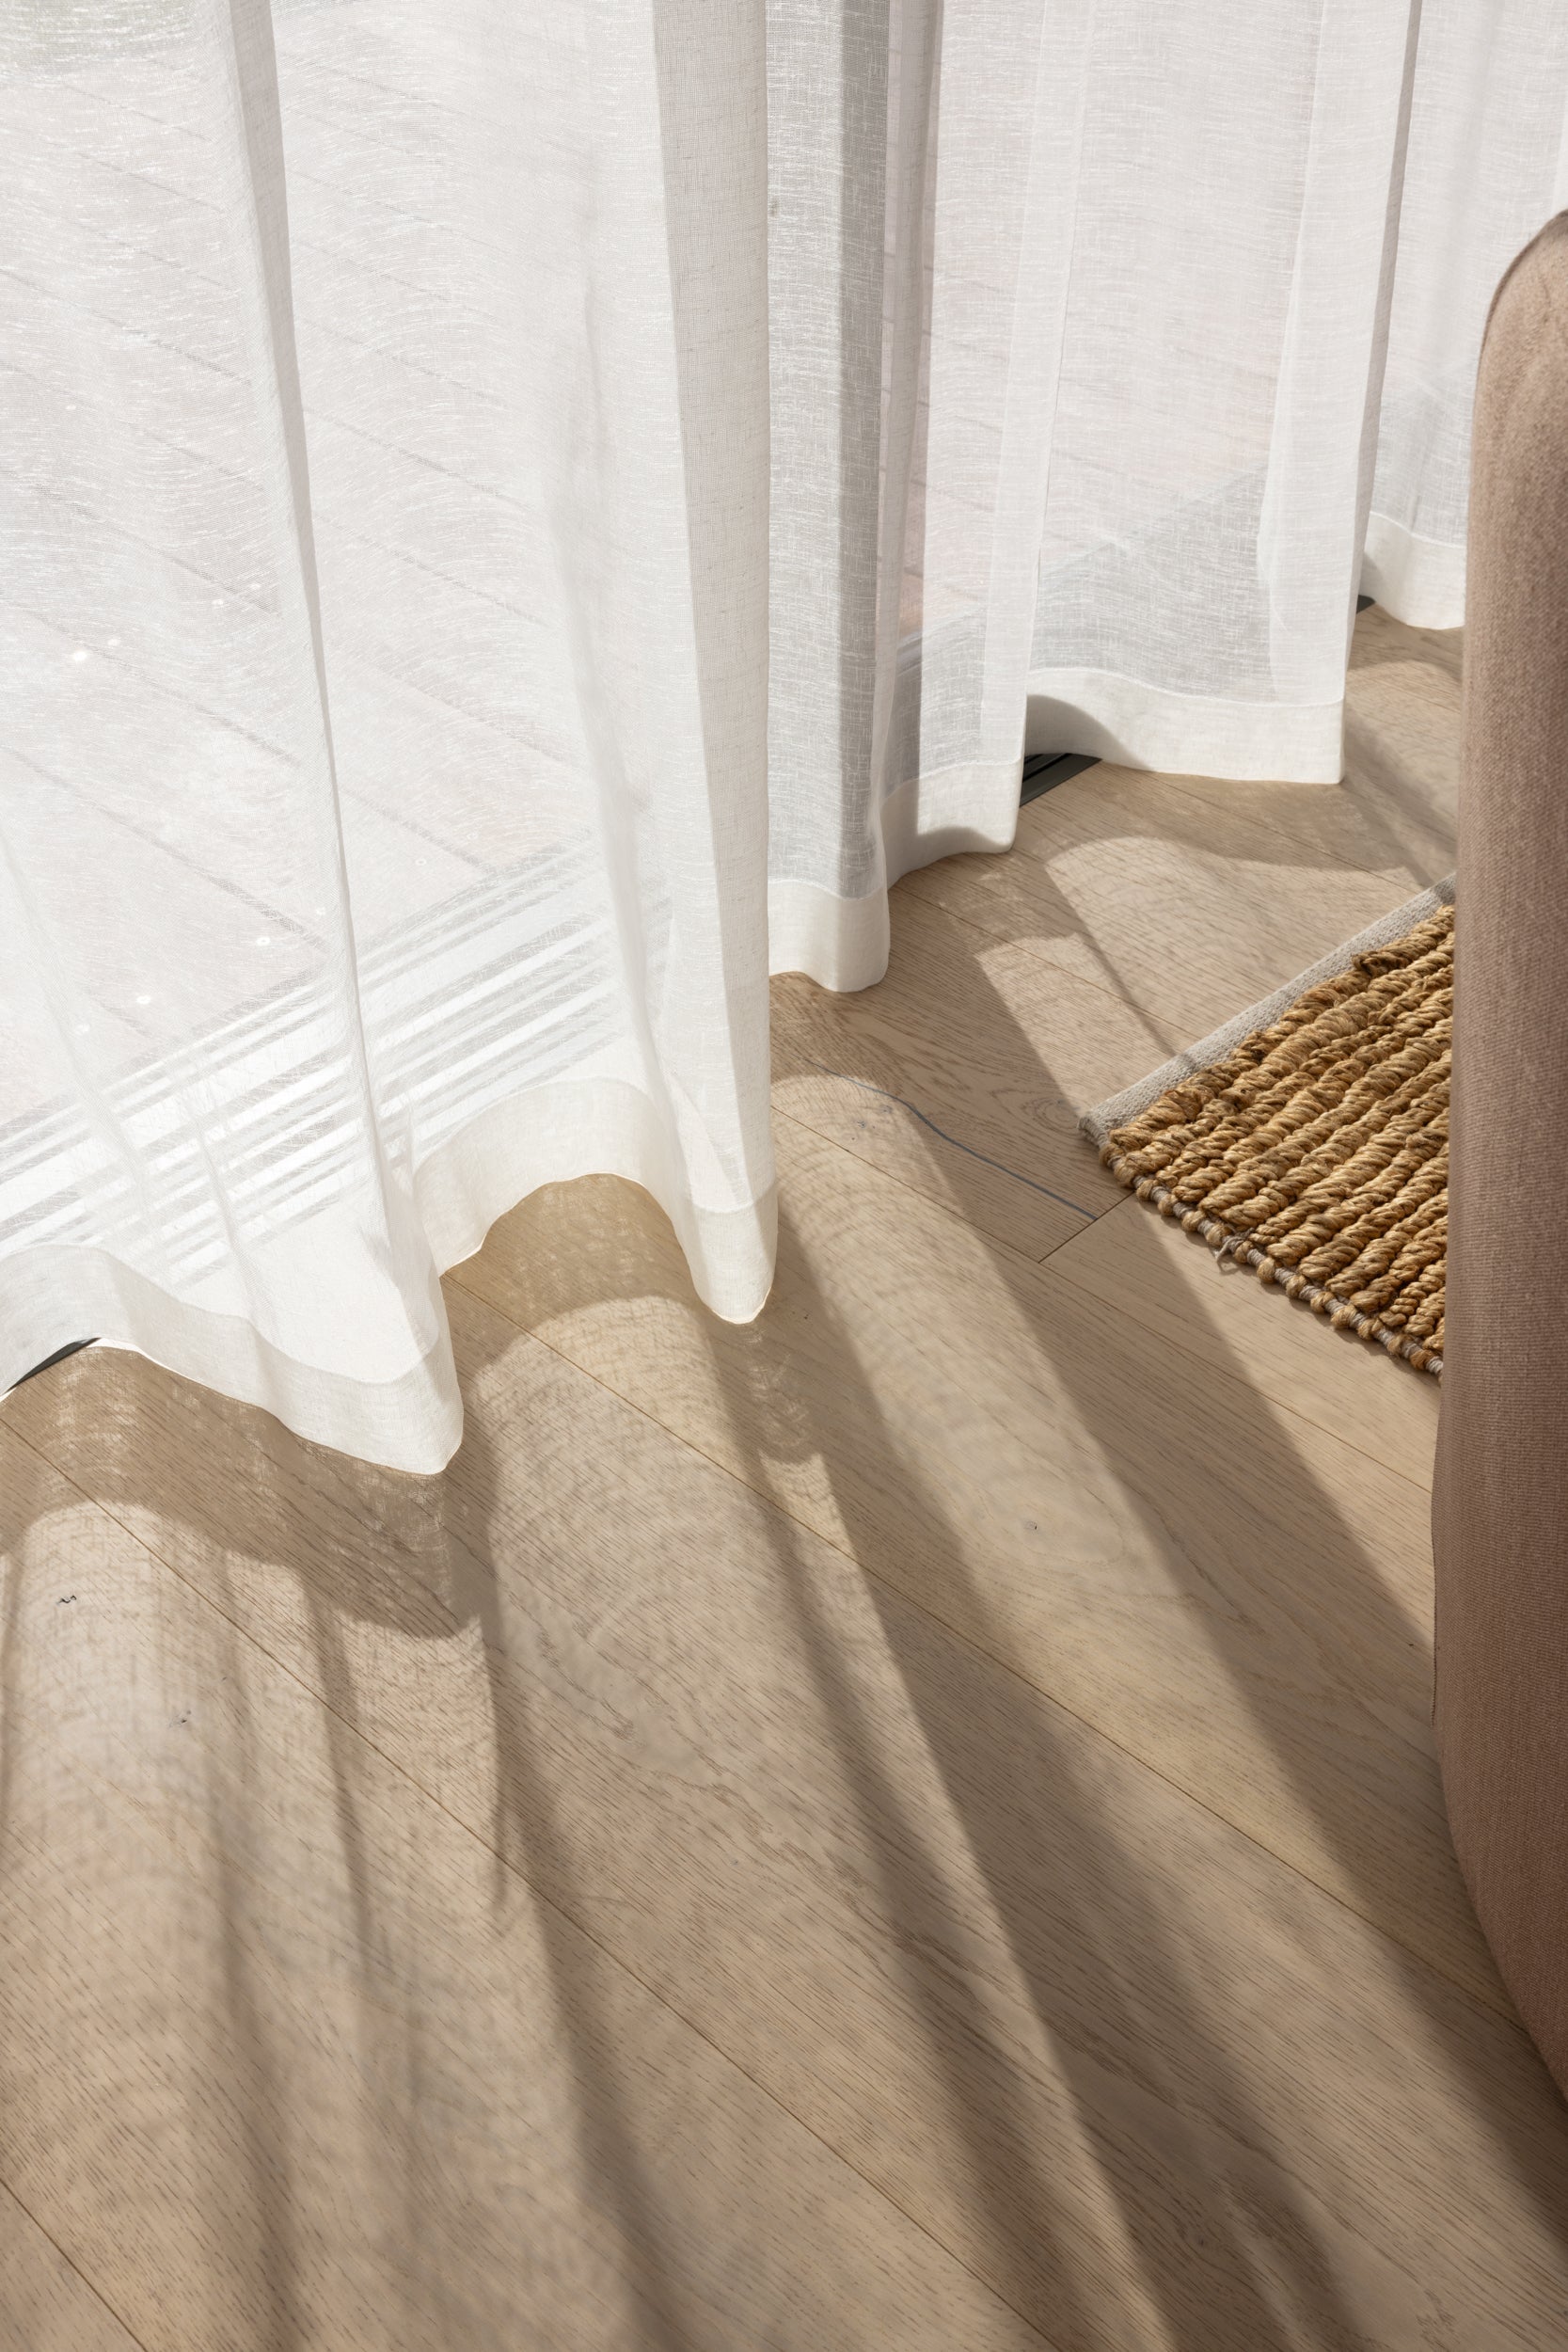
Can I Lay My Own Oak Flooring?
Yes. If you are reasonably handy, comfortable with tools, or working in the trades, laying your own engineered oak floor is achievable and the result can be indistinguishable from a professional installation.
Modern engineered oak is stable and predictable in a way traditional hardwood is not, which is what makes this realistic. What decides the outcome is understanding how the product is supplied and following the sequence.
What comes in a pack
This surprises people, so it is worth explaining before you open a box.
Every flooring pack contains a mix of full-length planks and shorter, randomly cut boards. Roughly one board in four is intentionally cut short.
This is deliberate, not a defect. The short boards let you start and finish rows cleanly, reach tight areas such as hallways and hot water cupboards, and maintain a natural stagger across the floor.
A premium oak floor should never look repetitive. The combination of long and short boards is what produces an authentic, architectural flow, and using the boards as supplied is what gets you there. Setting the short boards aside and laying only full lengths produces a floor that looks manufactured.
How much to order
We recommend allowing around ten per cent wastage on your total square metres. That covers cuts around door frames, cabinetry and transitions, and it covers the pattern stagger.
On an 80 square metre area, order 88 square metres. Running short mid-installation is more than an inconvenience, because a second batch may not match the first for tone and grain, which is the same reason we recommend keeping a spare box afterwards for future repairs.
The sequence
1. Acclimatise
Place the boards in the room they will be installed in for at least 48 hours before you start. This lets the timber settle to the temperature and humidity of the house, which is what supports stability once laid.
2. Prepare the subfloor
This is the part that decides whether the job succeeds. The subfloor must be level, clean, dry and structurally sound. A flat base allows the tongue-and-groove to connect cleanly and prevents the movement that causes squeaks and lifting.
We would not skip moisture testing, and on a concrete slab a moisture barrier is generally recommended. The full requirements by substrate type are in choosing the right substrate, and a renovation over old vinyl has its own process in laying timber over existing vinyl.
3. Set out the floor
Plan the direction and the starting line before you glue anything down. Which direction to lay the floor covers how to choose.
4. Install
Follow the adhesive specification and the stagger pattern. Our boards do not require a perimeter expansion gap when installed to guideline, which simplifies the perimeter considerably and is explained in do you need expansion gaps.
Where to draw the line
Straight-lay flooring on a sound, level substrate is a fair DIY project. Three things are not, and attempting them is where DIY installations go wrong:
- Herringbone. The set-out is unforgiving and an error compounds across the room.
- Stairs. Wrapping treads and fitting nosings is joinery, and it is the most visible surface in the house. See oak stairs.
- Substrate remediation. If the floor needs grinding or levelling compound, bring in someone who does it weekly.
Before you start
Read the Installation Instructions in full, not selectively. Installing to guideline is a condition of the Warranty, so the document is worth the half hour.
If you would like to talk the sequence through, or want a recommendation for an installer for the parts you would rather not do, get in touch through Contact.